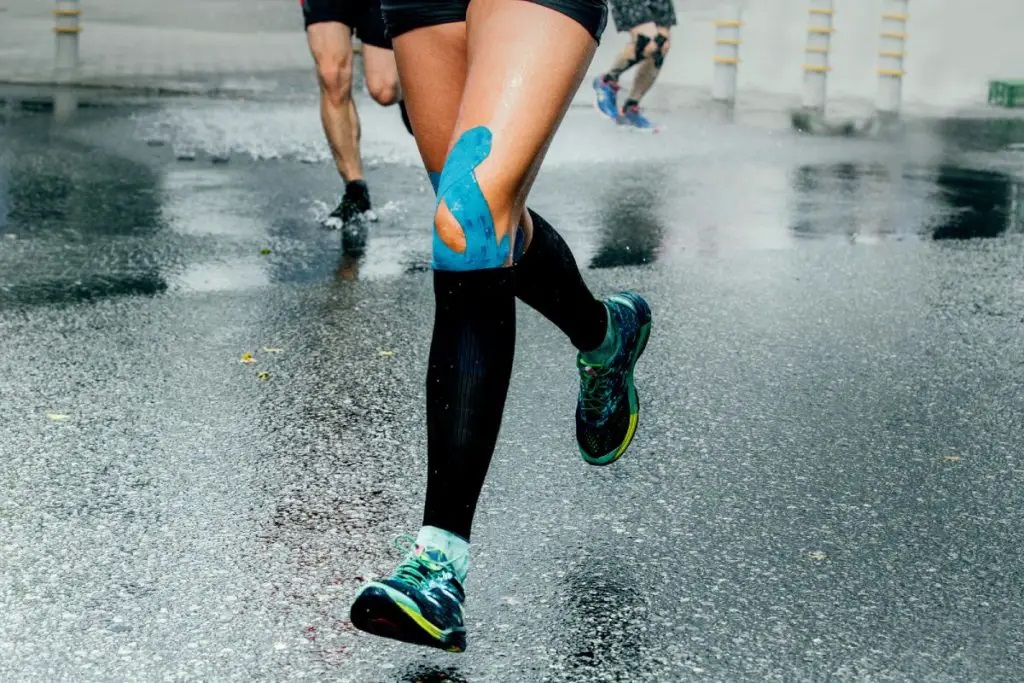
Whether you’re new to running, a veteran, or a journeyman trail stomper, it’s easy to understand why many runners tape a knee for running.
Running can be particularly hard on the joints of the back, hips, feet, and especially the knees. The knee is among the most complex joints in the human body, and it supports close to 90% of our total body weight. While running, we ask a lot of our knees.
For our purposes, we’re going to use the terms “tape” or “taping” for what could also be called “strap” or “strapping.” The idea is that we are going to offset some of the natural forces and pressures within the knee in order to reduce pain, prevent injury (hopefully), speed recovery, and maybe even make continued running possible while healing.
Contents
How to Tape a Knee for Running

For an experienced runner who is in tune with his or her body, has been injured before, and who has a decent understanding of how muscles, tendons, and joints work – it might be possible to tape a knee using good old-fashioned horse sense. For most of us, however, it might be wiser to use a tried and true method developed by athletes, trainers, and sports medicine experts over a number of decades.
Here, we’ll cover the two most universal techniques that can treat the widest range of common knee problems.
Method 1: Taping for Iliotibial Band Syndrome (IBS) or Patellofemoral Pain Syndrome (PFPS)
The ITB is a thick and fibrous band of connective tissue that runs down the length of the leg’s outer edge from above the hip, over the side of the knee and continuing onward toward the ankle. Theories differ on whether IBS is caused by friction or strain. PFPS is another common problem that most life-long runners will face. It is a complex form of injury and involves tissues in and around the joint between the kneecap and the femur.
This is a simple technique that can relieve pain from both types of injury by offloading the patella.
Step 1. Size your tape
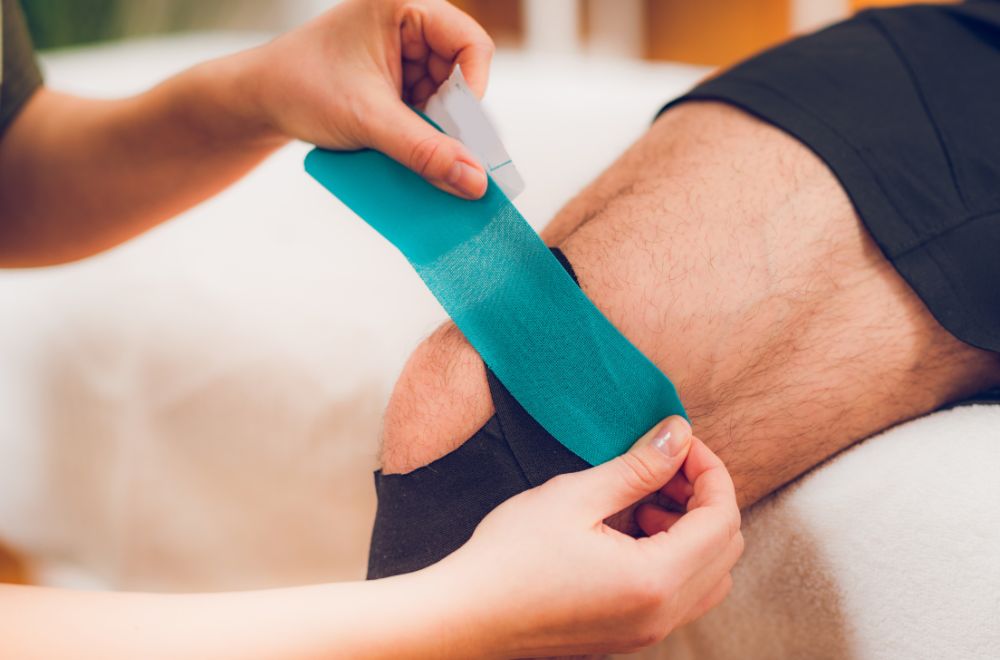
Cut a piece of Kinesiology tape long enough to run from the inner edge of your knee to the outer edge. The length need not be precise but it’s best to cover as much surface as possible without the edges of the tape being interfered with by the movement of the back of the knee, thigh, and calf. Round the corners of the tape to avoid irritation and catching.
Step 2. Position your kneecap
After you have removed the backing of the tape, place one end on the outer portion of your knee. During this step, your knee should be slightly bent to allow for normal movement while running. While doing this, press your kneecap gently but firmly toward the centerline of your body. The lateral movement of the kneecap should span no more than a quarter of an inch. Hold your kneecap in this position while affixing the remainder of the tape.
The tape should cover more skin on the inside of the knee than on the outer side.
Step 3. Affix tape to the inner knee & test
Rub the tape down all over with the edges of your nails to ensure it is well in place. Give the tape at least 10 minutes to cure. Stand up and move around to test for range of motion, and to check for your knee pain. Proceed with your run, more slowly than normal, and pay close attention to your knee.
Method 2: Taping for General Knee Pain
This taping technique may be helpful for either of the conditions addressed in the last technique. However, this will also cover a number of common runner’s knee problems that a runner is likely to encounter at some point.
Step 1. Cut your tape
This time, you’ll need three pieces of Kinesiology tape; two about 6 to 8 inches in length and one just three to four inches long. Again, round the corners out to avoid irritation and catching fabric. Again, be sure your knee is slightly bent while taping to leave room for normal movement of the joint.
Step 2. Place your tape
Begin by placing one piece of tape diagonally across the inside of the patella tendon and upward around the bottom outside of your kneecap and up the outside of the knee. Then place your second piece of tape in almost the same identical fashion, but on the opposite side of the knee. Begin from the bottom of the kneecap, starting on the opposite side of the patella, and wrap around the bottom/inside of the kneecap up to the inside of the knee.

At this point, your tape should be in a “V”-shaped configuration. Finally, take your last piece of tape (the shortest one) and stretch it horizontally right over the bottom point where the other two pieces meet underneath your kneecap.
Step 3. Affix the tape and test
It’s best to wait 10 to 15 minutes before moving to allow the special glue this type of tape uses to fully adhere. Give the tape a once-over with your nails, pressing it down with a gentle scraping action to improve contact. After you’ve done this, stand up and move around to test your range of motion.
Final Word on How to Tape a Knee for Running
If you have hairy legs, you might want to shave the area where you’ll be taping for obvious reasons. Just think of them as racing stripes. After taping, don’t assume your knees are now bulletproof.
Run somewhat tentatively and be wary of pain or you may cause permanent damage. Continue to warm up and stretch before a run and stretch at the end of your run.
Don’t forget the importance of nutrition for healing. Knee injuries are notoriously slow to heal, so your diet will be more important than ever. Finally, if your knee pain persists, don’t try to run through the pain. Get medical help, optimize your diet for healing and consider alternative fitness activities like swimming, biking, and elliptical machines.


